Time to start machining this puppy.

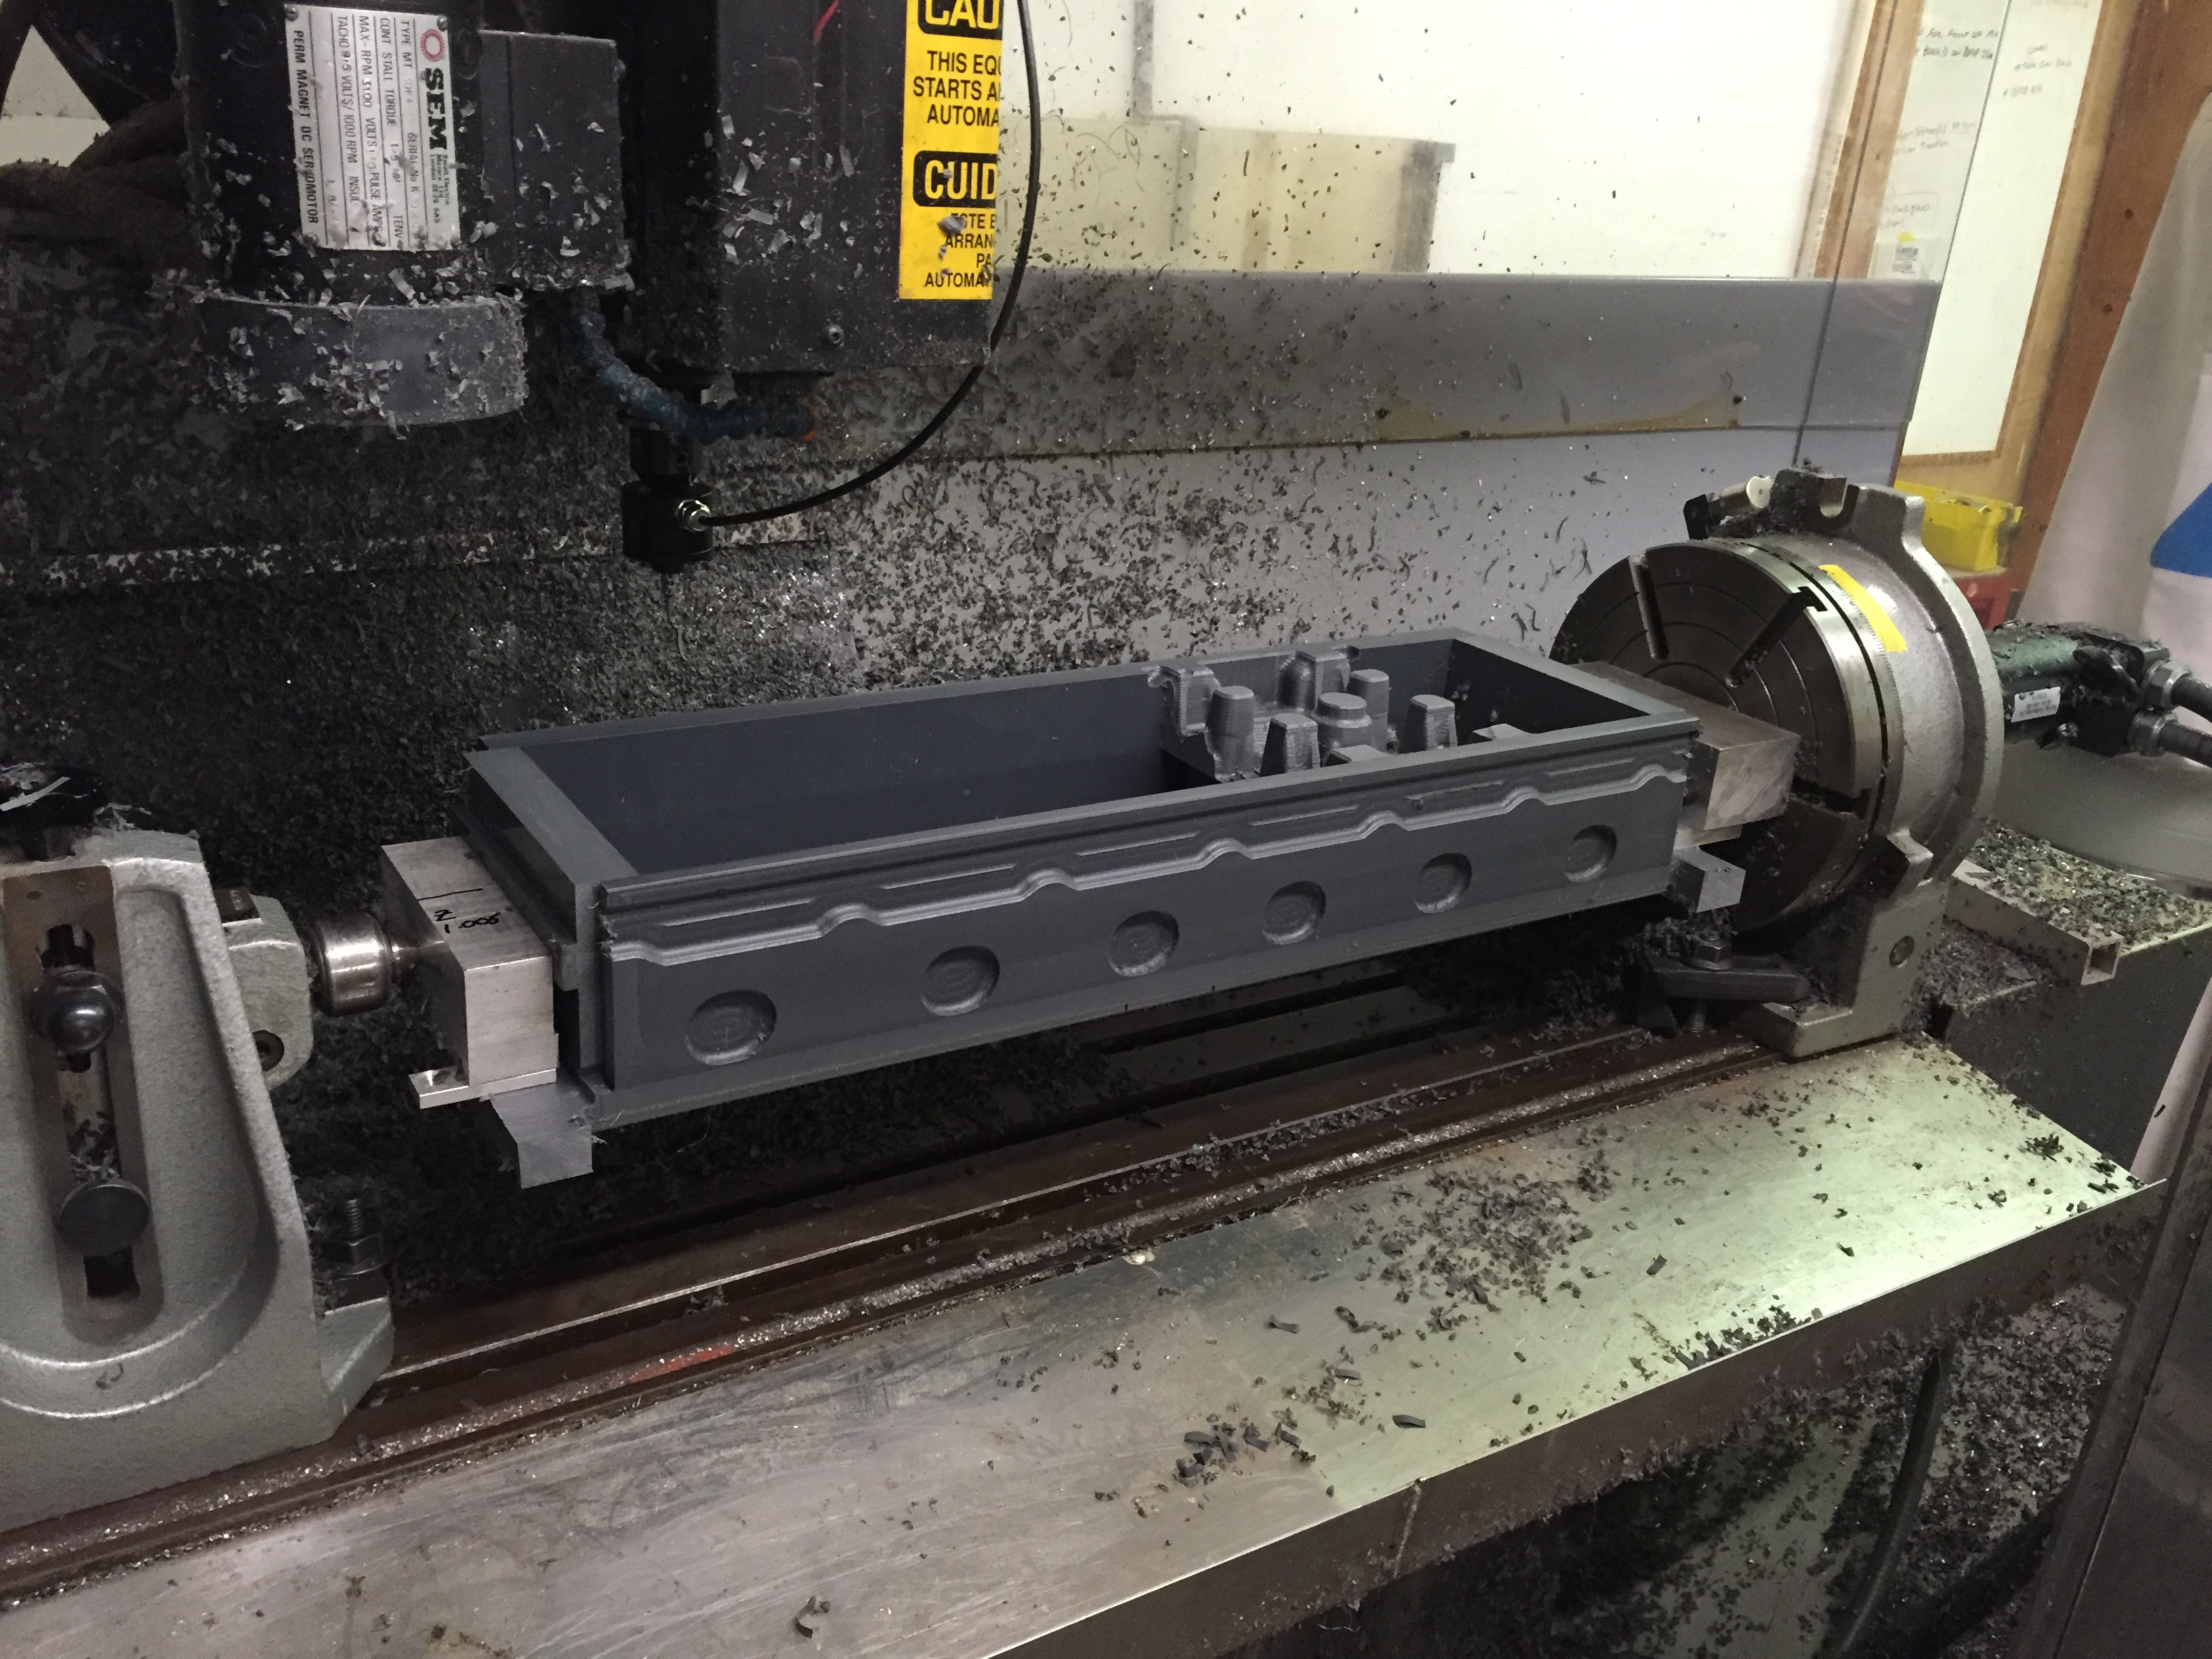
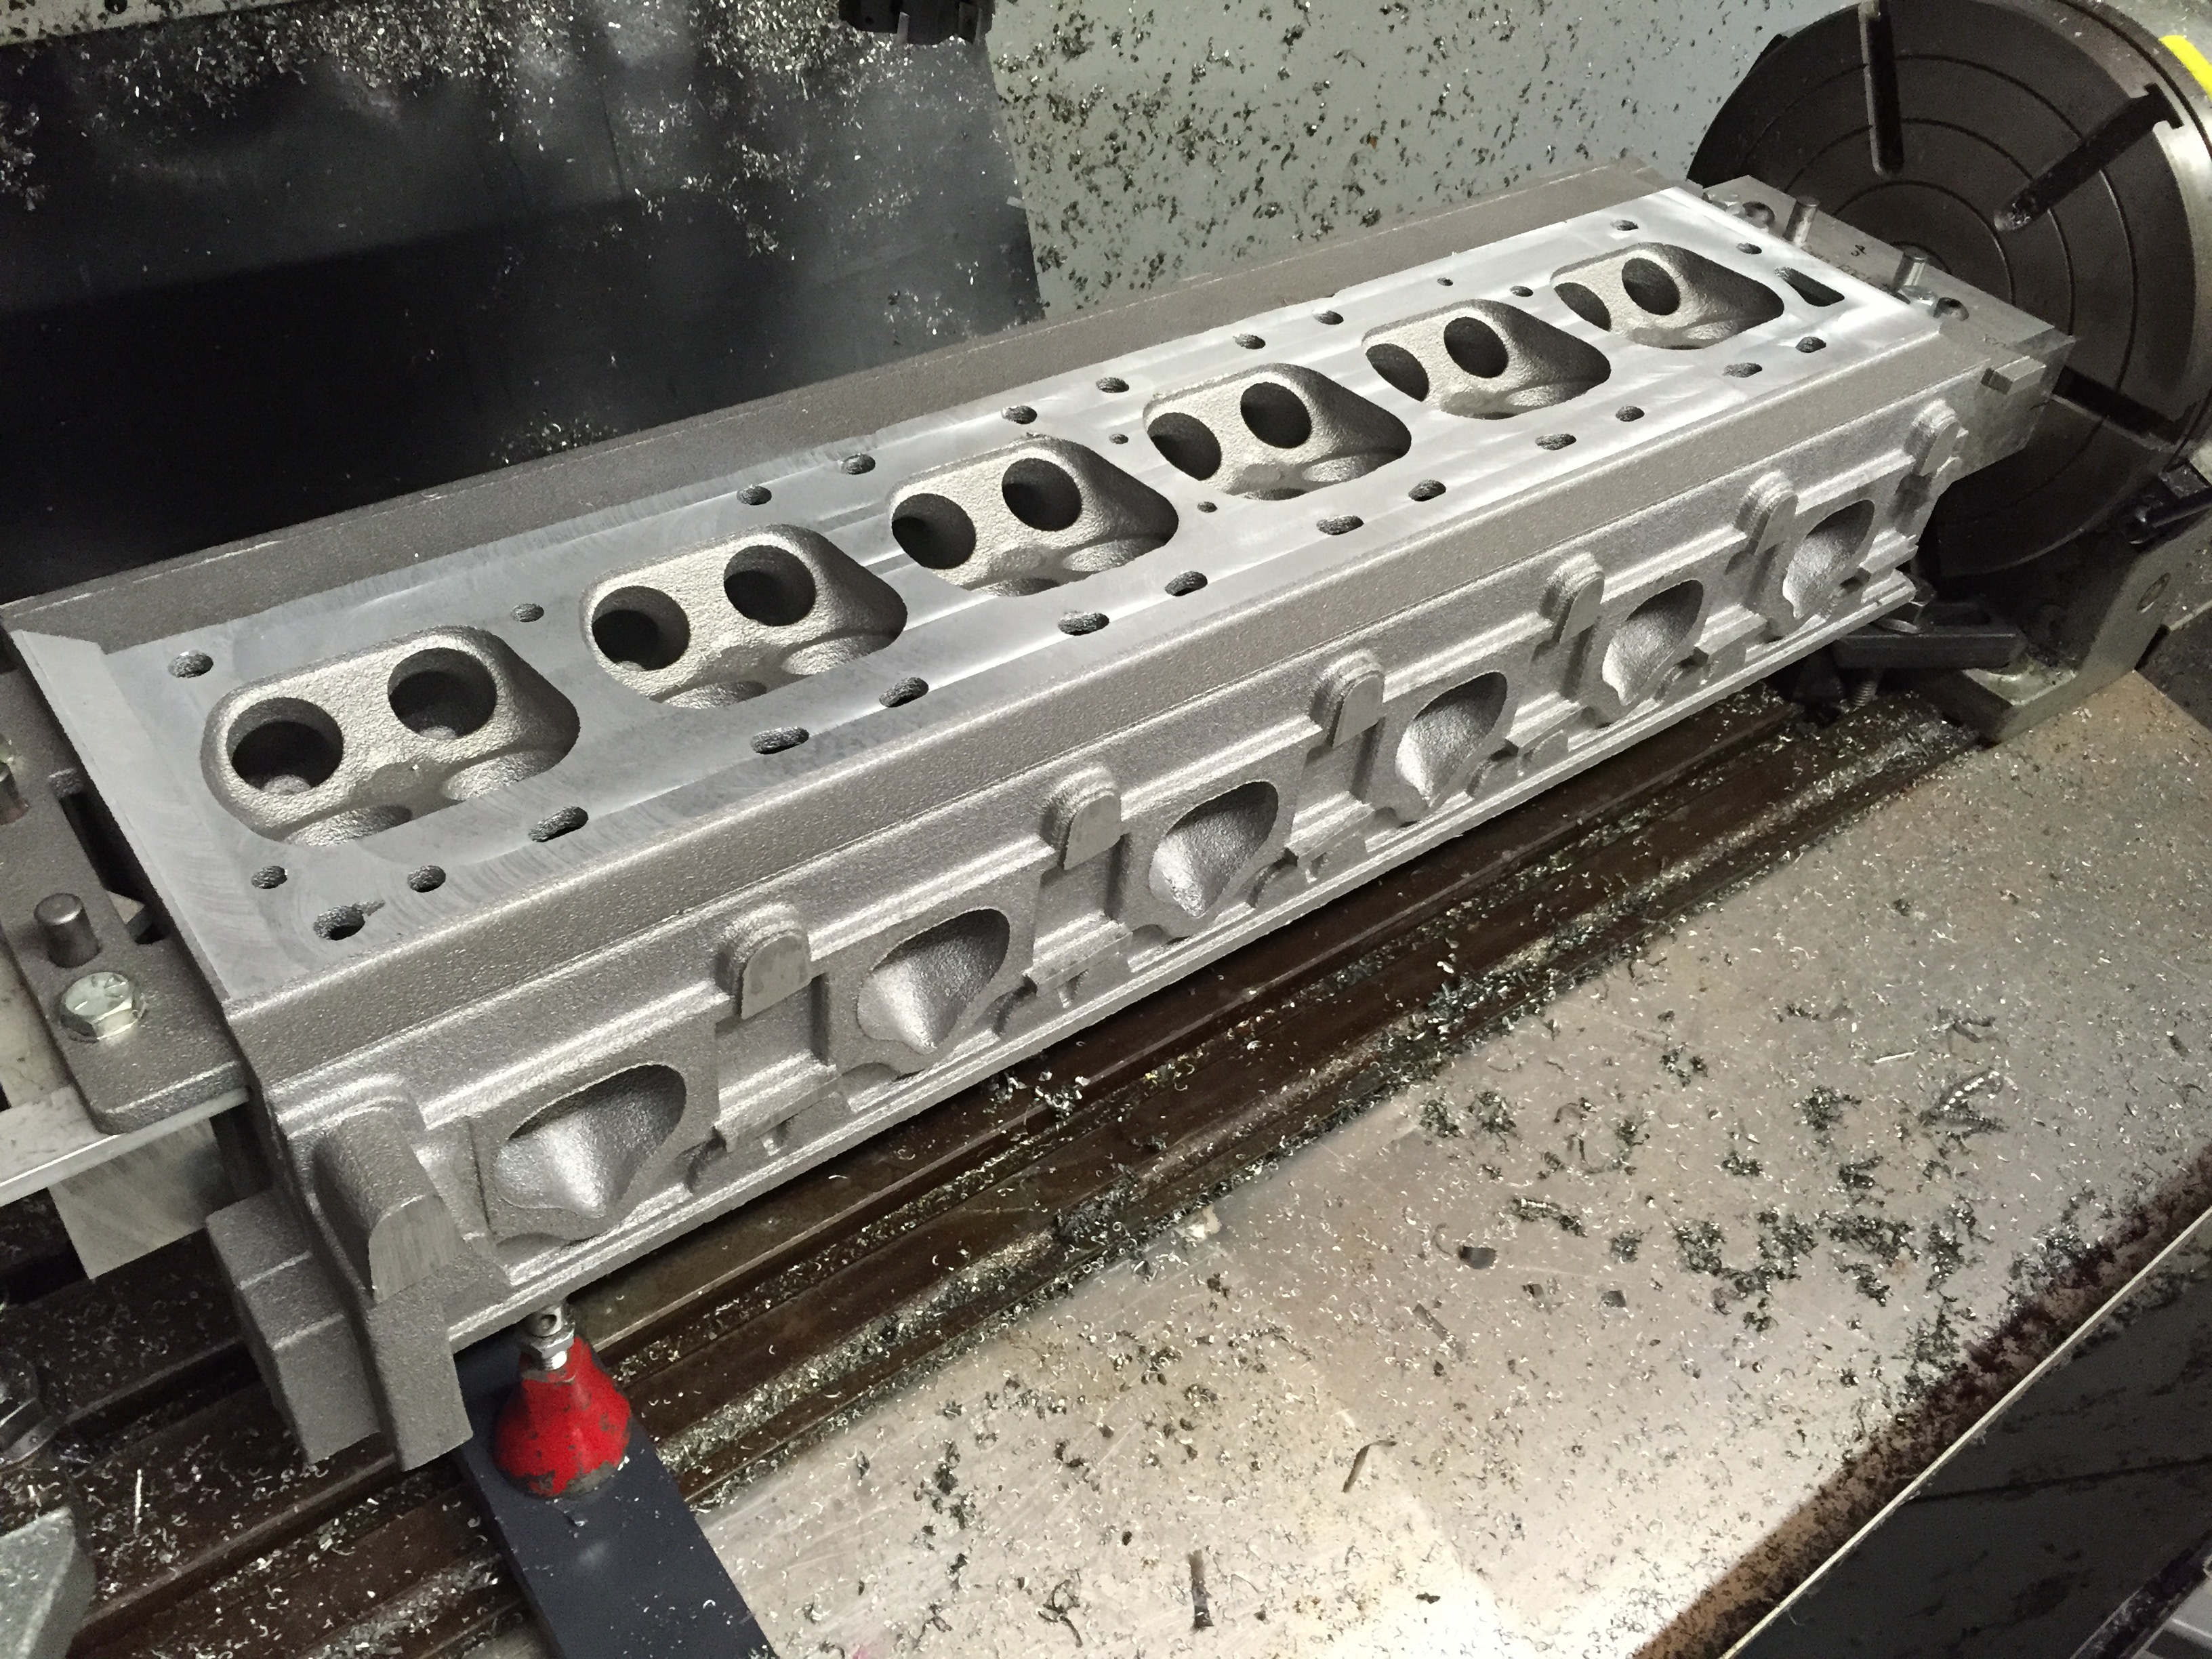
I had some imperfections in the bottom of the casting that I needed to weld up. I made a light cleanup pass to make sure I got everything filled.

IMG_0237


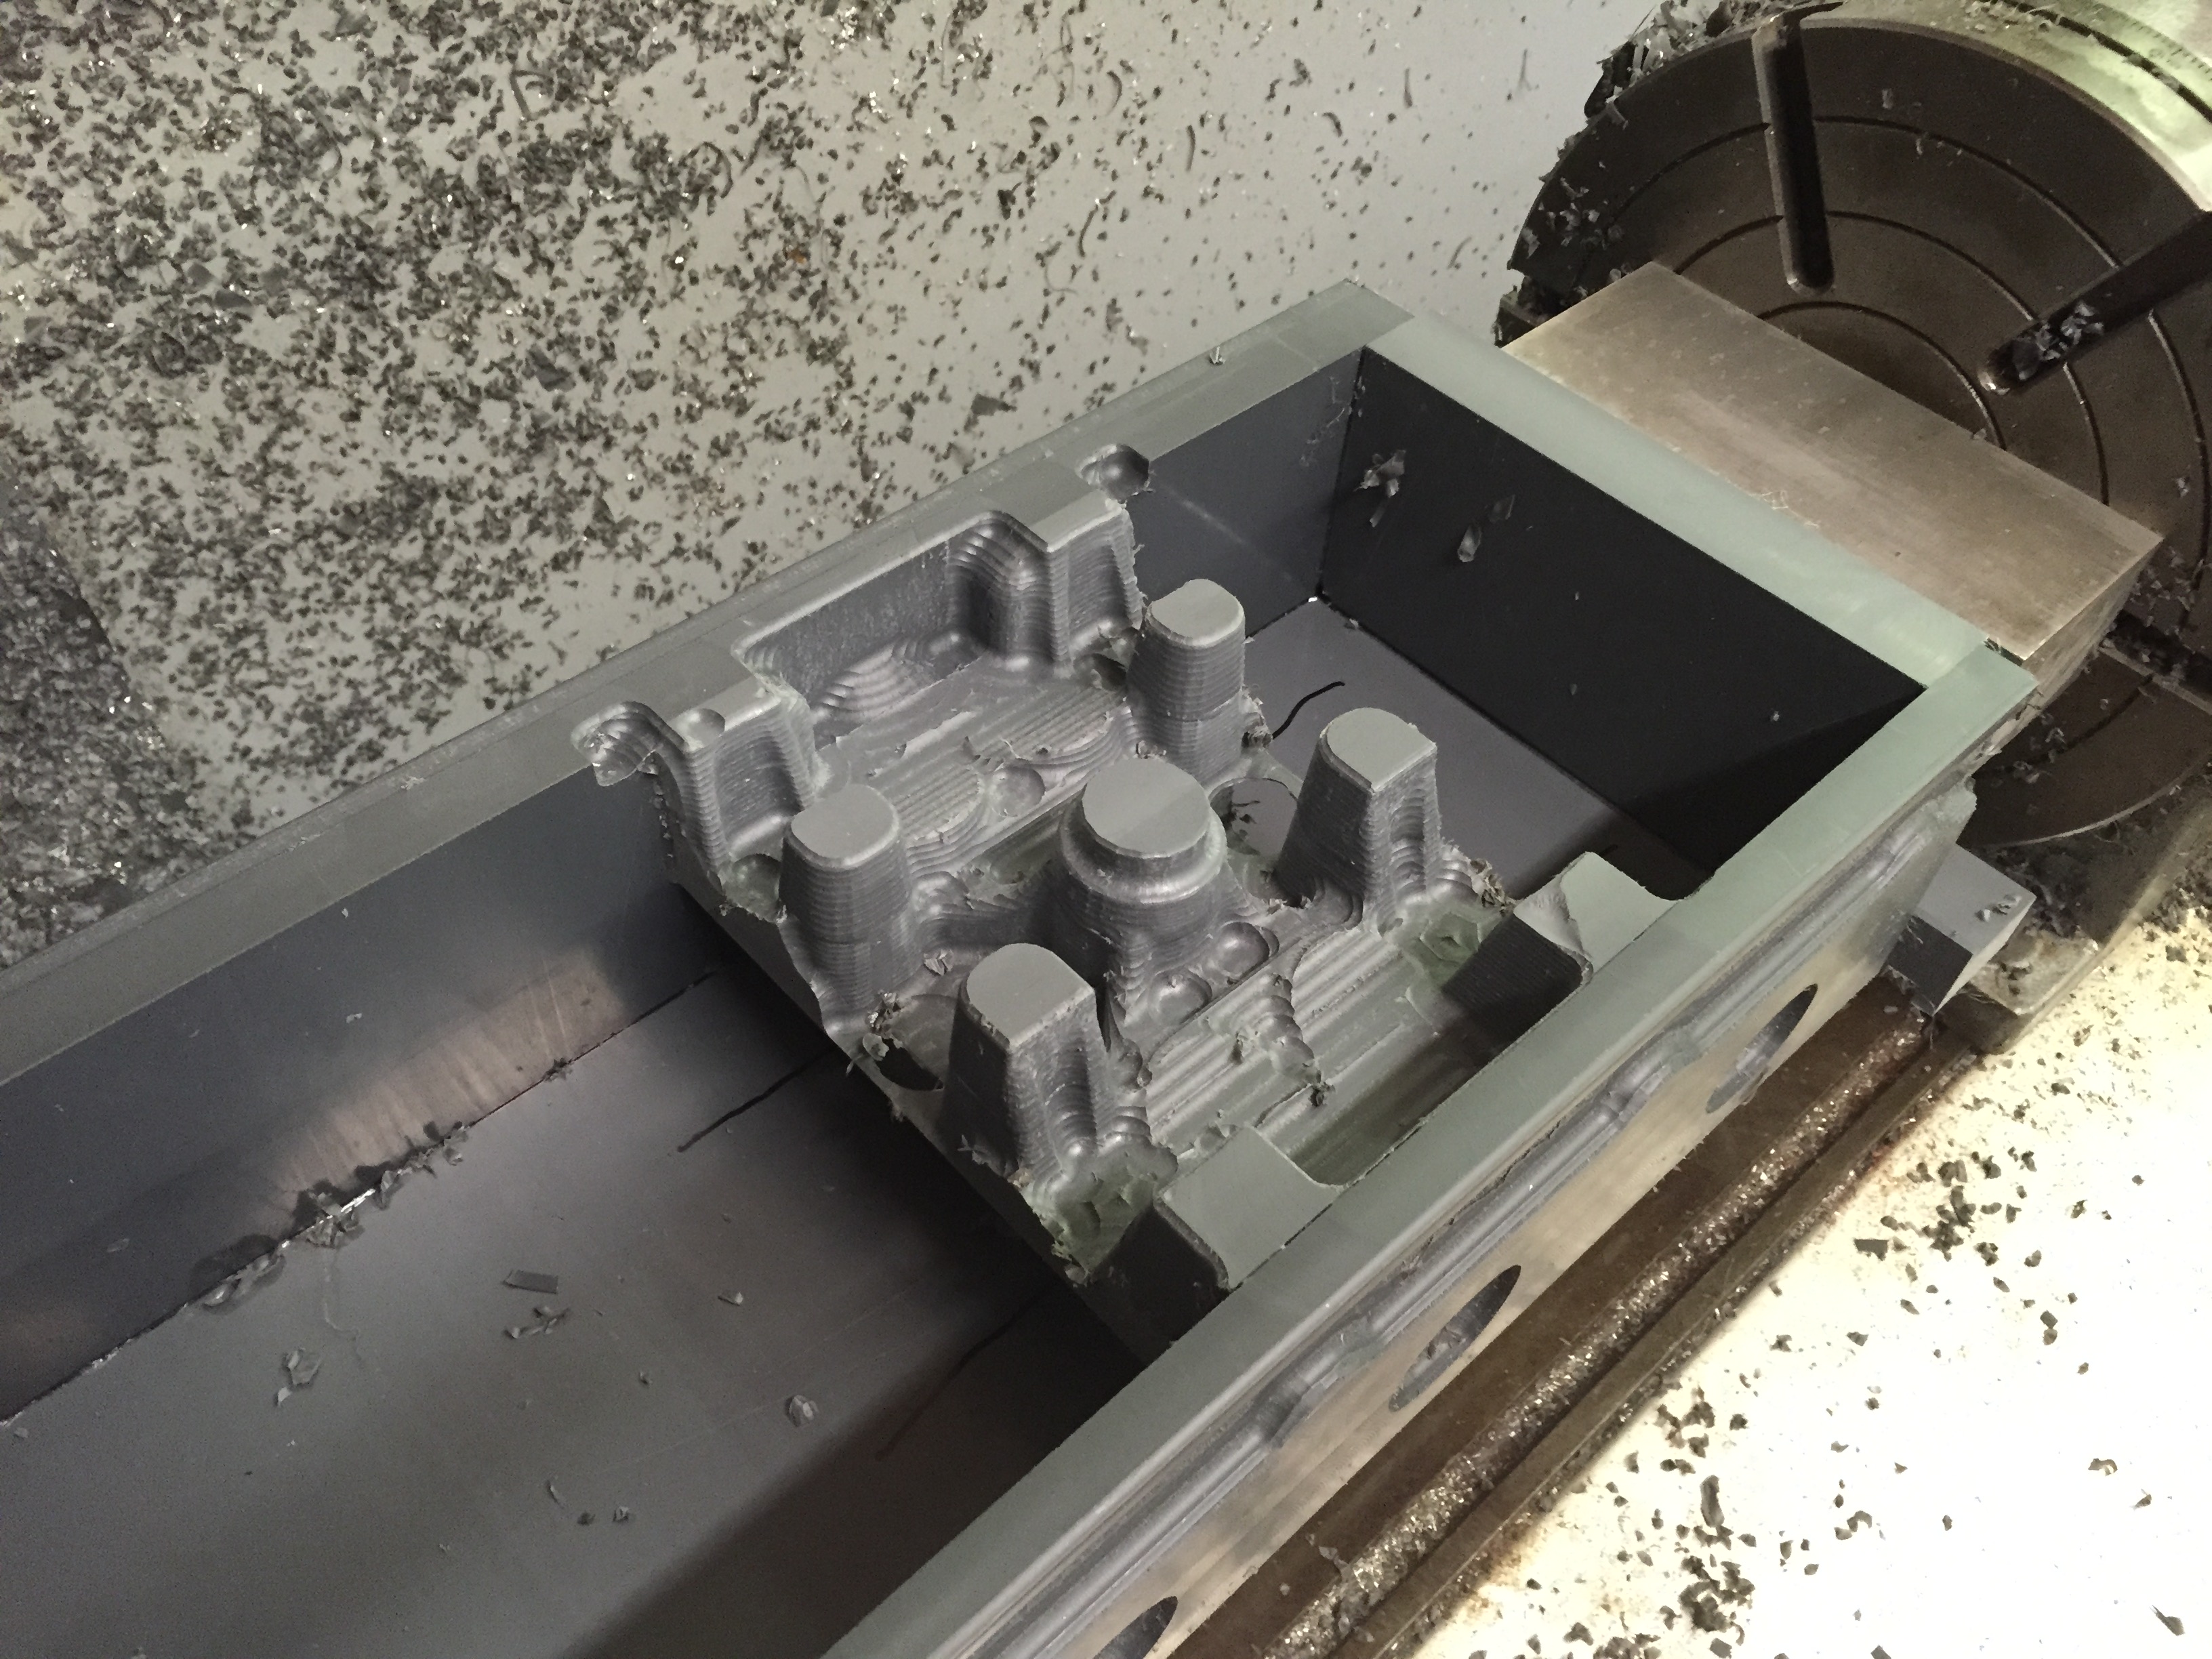
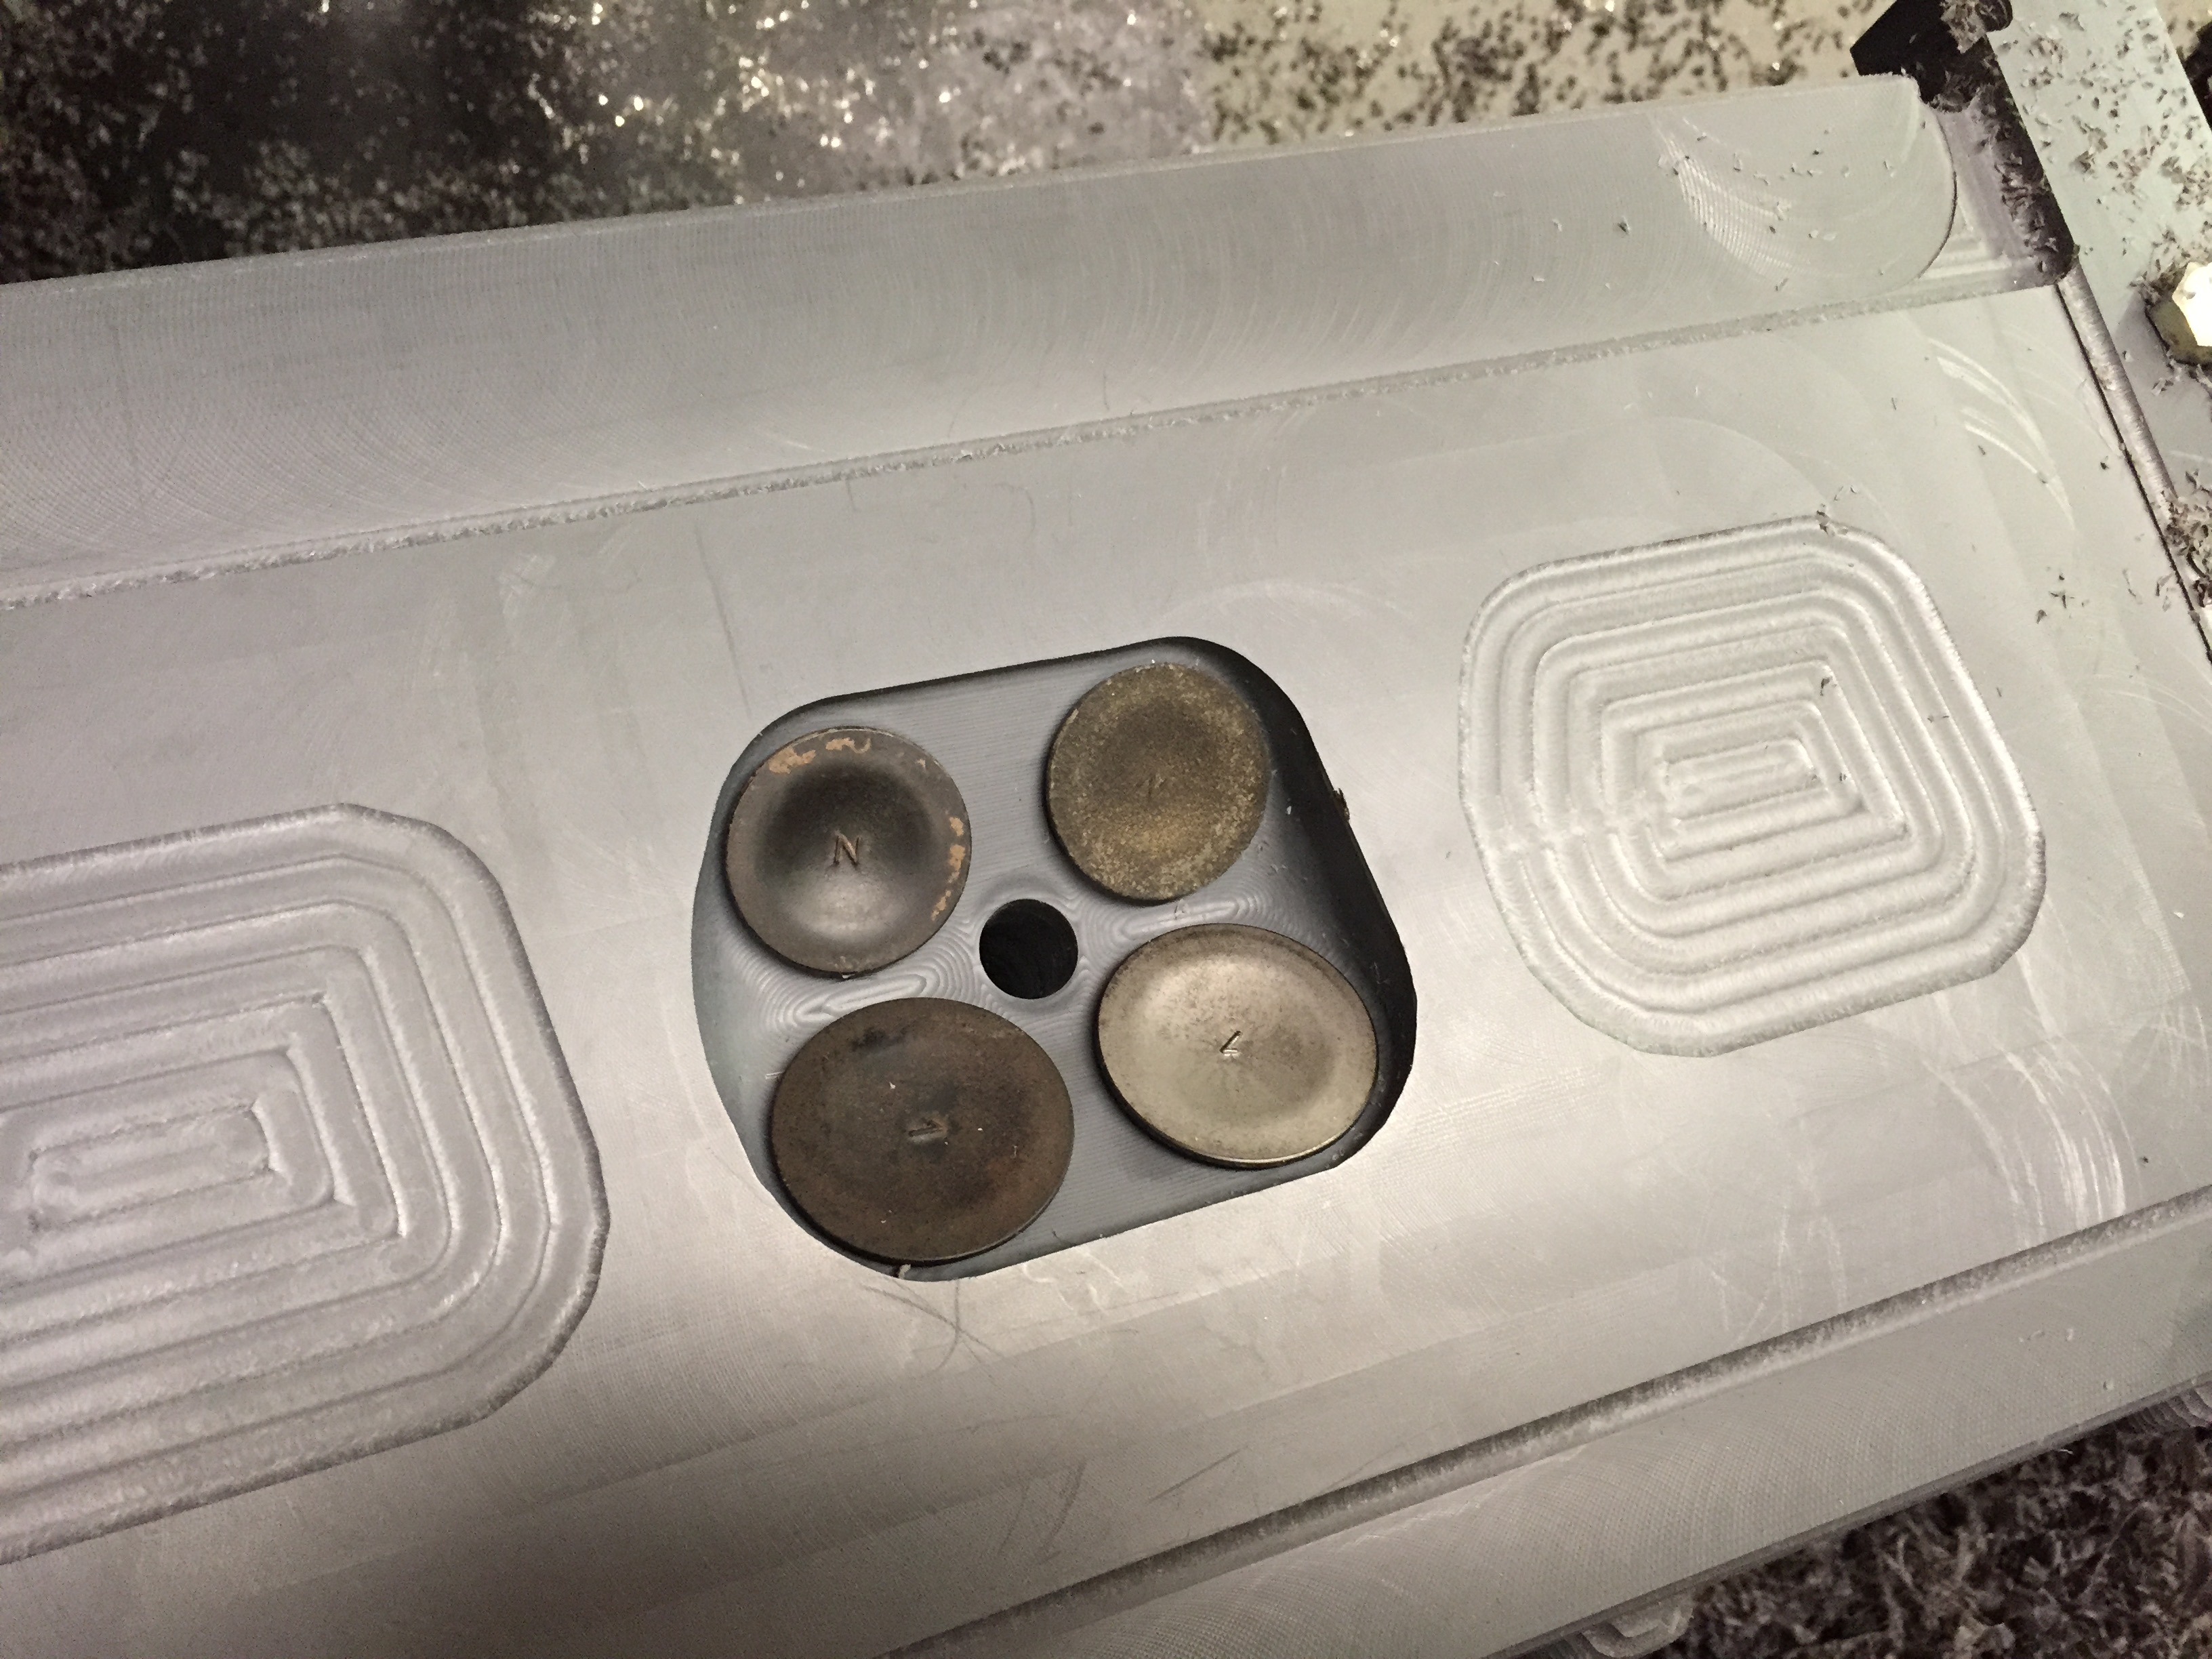
Next is mapping out the combustion chambers to see exactly where they ended up. Castings shrink when they cool. Although there are formulas to use as guidelines it’s still a bit of a guessing game. All the core sand inside makes it especially hard.
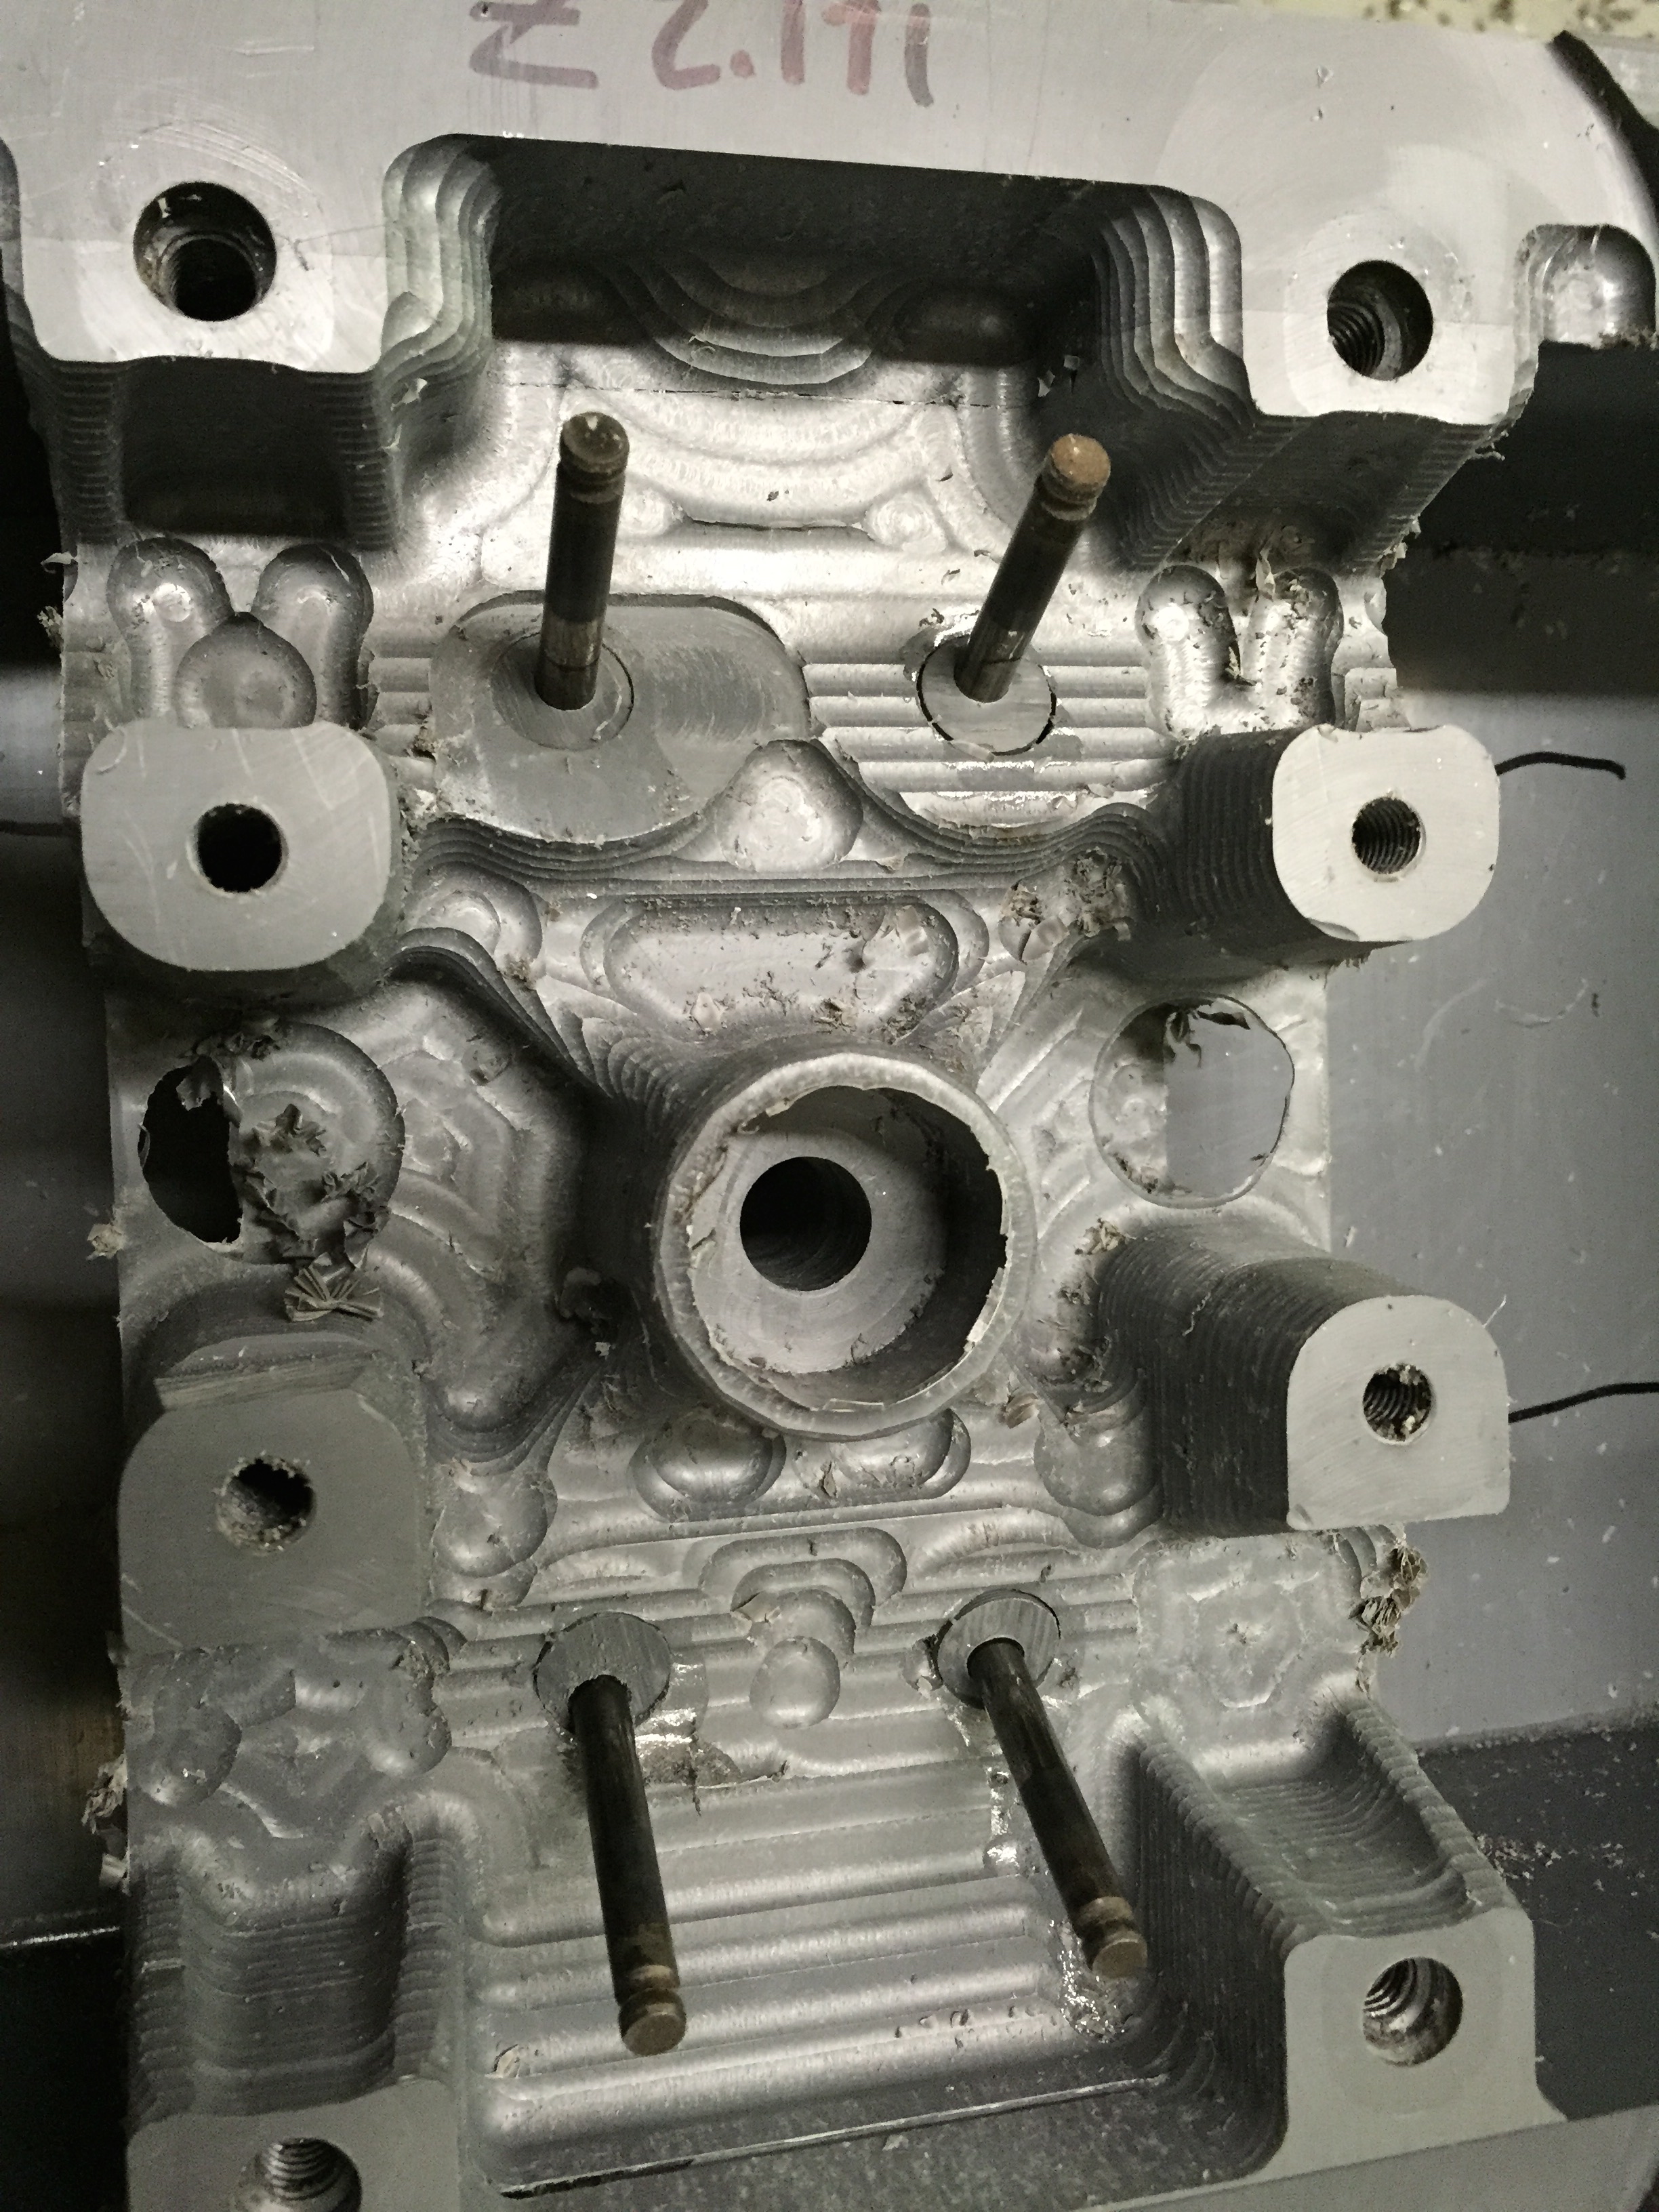
 

So far so good!

The machining begins…. It’s Mockup time!

Although I was really happy that I got a good casting the first time this meant I had nothing to practice on. I decided to do a plastic mockup so I could test out my valve angles. head bolt locations and intake and exhaust bolt holes

I decided to do the head with a 4Th axis instead of building fixtures. This can save a ton of time when you are prototyping.

IMG_0221

I used the original 3D model to carve a single cylinder.

IMG_0222

I carved the combustion chamber and drilled the spark plug hole. I then used that hole to locate where the cam towers needed to be mounted.

IMG_0228

I then worked off of the rocker shafts to get the valves in the right spot.

IMG_0227

As you can see it took a couple of tries to get it right. And that is why I did a mockup. We do it nice cuz we do it twice!

Valves ended up where I needed them to.

IMG_0225